Standard Installation
Step One.
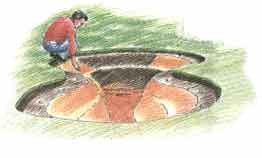
 Carefully lay out the shape of your pond with a rope or hose. Start digging, always cut into the shape. Dig to a minimum depth of 350mm, leaving 225mm wide shelves 225mm below the water level.
Step Two.
 The pond edges should be cut back to allow for the edging. Insert short wooden pegs 1 to 1.2 metres apart around the top edge and check that the pond is properly levelled. After final trimming and shaping, inspect the surface for sharp stones or roots.
Step Three.
 A layer of sand 12mm thick should be laid to fill any holes and to obtain a smooth surface. On stony ground, polyester “Geomat” matting should be underlaid as an added precaution.
Step Four.
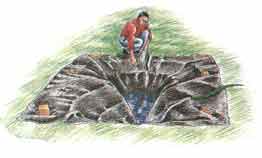
 After the liner size has been established, (see the calculator) the pond liner should be draped into the excavation and slowly filled with water. Place blocks on the side edges. As the water level rises the blocks should be eased off.
Step Five.
 Creases should be adjusted my moving and fitting as the pond fills. Once full, the surplus lining should be trimmed leaving a 125mm flap, which can be nailed down temporarily
Step Six.
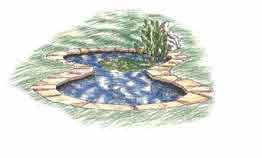
 The finished pond can be edged with stones, concrete, soil, or instant lawn. Ideally the pond should be stabilized before decorating with plants and introducing fish. . Speak to your local supplier for more information.
